|
Getting your Trinity Audio player ready...
|
Last updated on January 6th, 2023 at 02:13 pm
Thank you for reading this post, don't forget to subscribe!Four hundred fifty-five million self-hosted websites use WordPress for their content management system. The CSM has robust features that focus on unrivaled user experience. You need to know that you can start a blog on WordPress without plugins, but you will need to learn how to install WordPress plugins for free with time. The good thing about the plugins is that they are easy to install for tech and non-tech people.
As your blog grows in terms of visitors, activity, and content, you will need to install plugins. Due need to improve the site's speed, user experience, SEO ranking, amongst others, it will force you to install the necessary plugins.
For people new to WordPress, installing the plugins might sound like a tall order, but it should not. You can install the plugins through three main ways: via search, FTP, or upload a zip file. Only people with self-hosted WordPress can install the extensions.
I will demystify how to install WordPress plugins by discussing the three installation methods.
How to install a WordPress plugin via FTP (File Transfer Protocol)
It is a way used to transfer computer files over the internet between a client and a server.
To install a WordPress plugin using FTP, you need to have your FTP server credentials. You can contact your web hosting company to give you the details or get them from your web hosting account. The FTP server URL, FTP password, and FTP username are the credentials that you need.
First, choose an FTP application/program. One of the most accessible programs to use is FileZilla. For Mac, try Cyberduck. The two programs are free.
Download the plugin you want to install, then unzip it.

Remember the FTP credentials? Now it is time to use them—login to your FTP account using the FTP password and username on the FTP server.
Look for the plugin folder. You can access it from WP-content then plugin. In the plugin section, look for the folder.
If using FileZilla, drag the WordPress plugin you want to install from your computer and drop it to the server. You can also upload the theme to your WordPress plugin folder.
The upload will take some minutes, depending on the number of files to be uploaded. Wait for the process to end. When the process comes to an end, the plugin is ready to be used. You can access it from your WordPress dashboard by going to appearance then plugin. You will find it there.
To start using the plugin, activate it on your WordPress dashboard. To install a WordPress plugin using the FTP method, you use an FTP software; then, you use the other two methods (search and find) to configure and activate the plugin.
Install WordPress plugins using the dashboard plugin upload
If you want to use a plugin, not on WordPress but is compatible with WordPress, you can upload it on WordPress. Please search for the plugin then confirm that it is compatible with WordPress. Download it.
Go to your dashboard, search for the plugin, and click on the ‘upload plugin' button.
The upload method is also excellent when installing a plugin that one cannot install through the WordPress dashboard. Configure the plugin settings after installation so that they can meet your needs.
Install WordPress plugins through plugins search

Here is a clear way to install a WordPress plugin to your site; you an do it on your dashboard. WordPress has a search box that allows you to search for any WordPress plugin without going to another platform to look for the plugins.
When you identify the plugin you want to install, WordPress gives you a chance to learn more about the plugin before installation. When you click the name of the desired plugin, a pop-up page with additional details about the plugin appears. Additional information includes the ratings, developer, number of active installations, compatibility information, and last time one updated it.
To install a WordPress plugin, go to the plugin, then add new from your dashboard. The page has a few options at the top, such as featured, favorite, recommended, most popular, and search.
The featured options are for plugins that WordPress recommends. If you want to install a featured plugin, use the search button at the bottom of the page.
The most popular option has a list of plugins arranged by their popularity. The most popular plugins appear at the top, while the least popular are at the bottom.
Recommended plugins consist of plugins that WordPress recommends based on the plugins you have installed. These are plugins that work well with installed plugins.
As for favorite plugins, all the plugins marked as favorites appear in this section. Finally, if you want to look for a specific plugin, you can use the search option. Use a keyword, and WordPress will provide a list of plugins that match the keyword.
Once you identify the plugin you want to install on WordPress, press the install button at the top right-hand corner of the plugin. When the installation process is complete, the button changes its label to activate. Press it to enjoy the plugins' functionality. When the plugin becomes active, WordPress redirects you to a pane with all the active plugins. This (the pane) is where you can upgrade, deactivate, or edit the settings for individual plugins.
Why can't I install plugins on WordPress?
WordPress installation errors hinder even people who know how to install WordPress plugins for free from installing the plugins. The installation errors are easy to fix and identify.
‘Syntax error' or ‘parse error' can occur during installation or after installation. If it happens during installation, it means the error is on the developer's side. Before you decide to fix the error yourself, check other issues that could be causing the error. If all the different areas are working well, get a new plugin. You do not need to have a plugin with recurring errors: fix it for good.
WordPress only uploads zip files, so if the file is not in the right format, you will likely get the ‘bad format' error. This error is thus standard when uploading a plugin on WordPress manually. Before reaching out to the plugin developer, confirm that the plugin file is in a zip file.
Sometimes you can get the zip file, but the contents might be wrong, incomplete, or missing. Check against the WordPress recommendation for zip file content to confirm the required file contents. Confirm that the zip file is the right one. Lastly, check whether the zip file has any contents. If the above does not resolve the error, reach out to the developer for solutions.
Memory limit error happens when the web hosting PHP memory limit cannot process the installation if it is too low. The memory is set to 64M by default.
Open the file editor on your control panel and then edit the memory size to fix the error. Add this code define( ‘WP_MEMORY_LIMIT', ‘256M' ); to the wp-config-PHP file found in the root directory.
WordPress has a set file size for plugins. When the limit exceeds, you are likely to get this message, “The uploaded file exceeds the upload_max_filesize directive in php.ini.” To fix the error, write new code on the php.ini file on the file size section. The correction will allow you to install larger files without an issue.

How to install a WordPress plugin from zipping?
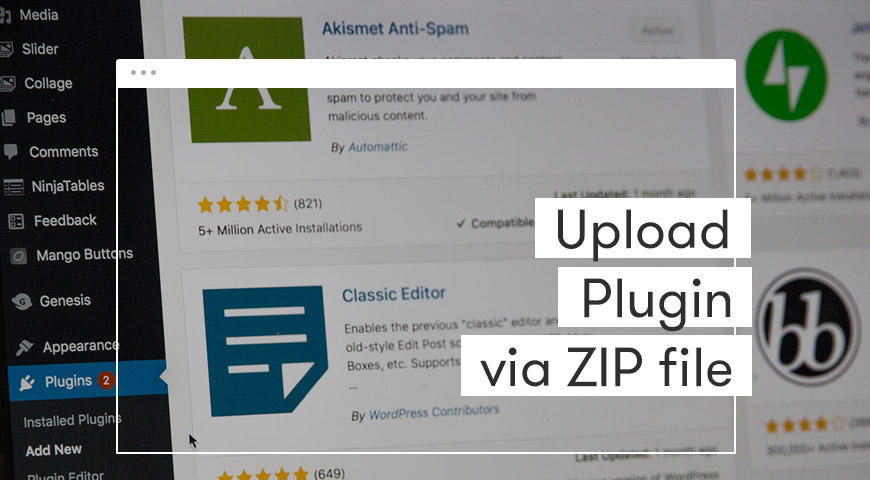
Go to your dashboard and click on the plugin. Go to add new, then upload plugin.
Select the folder you want to install, then activate it. If an old plugin already exists, you will need to delete one of the plugins. If you have not yet activated the plugin, delete it directly. Furthermore, if it is already active, deactivate it first, then delete it.
FAQs
Can you install plugins on WordPress free?
Yes, you can. There are many ways to install WordPress plugins for free and they are available on the site or in other directories.
How many plugins should I install?
There is no set number of plugins that you should install: install the number that helps you customize your website as you want. Sites for people new to WordPress have fewer plugins, but as they continue working on WordPress, they increase the plugins.
Some websites have 20-30 plugins, while others have up to 50 plugins. To maximize the potential of WordPress, ensure all the plugins follow the coding standards set for WordPress.
Should I delete inactive WordPress plugins?
Yes, because hackers use inactive plugins that have not been updated as leeway for hacking your site. Install WordPress plugins for free that notifies you when a plugin is no longer being updated. A lean site loads faster, so clean your site by deleting inactive plugins.
Some plugins should not be deleted, such as a secondary security plugin and a maintenance plugin. If something goes wrong with your site, you can activate the secondary security plugin, then scan the site to see the source of the issue. This is important if your primary security plugin has problems identifying the source of the item. The maintenance plugin is essential when you need to carry out a live maintenance procedure on your site.


